Creating an Angular application with Mapify and Google Maps
August 3, 2021
Mário Sobral
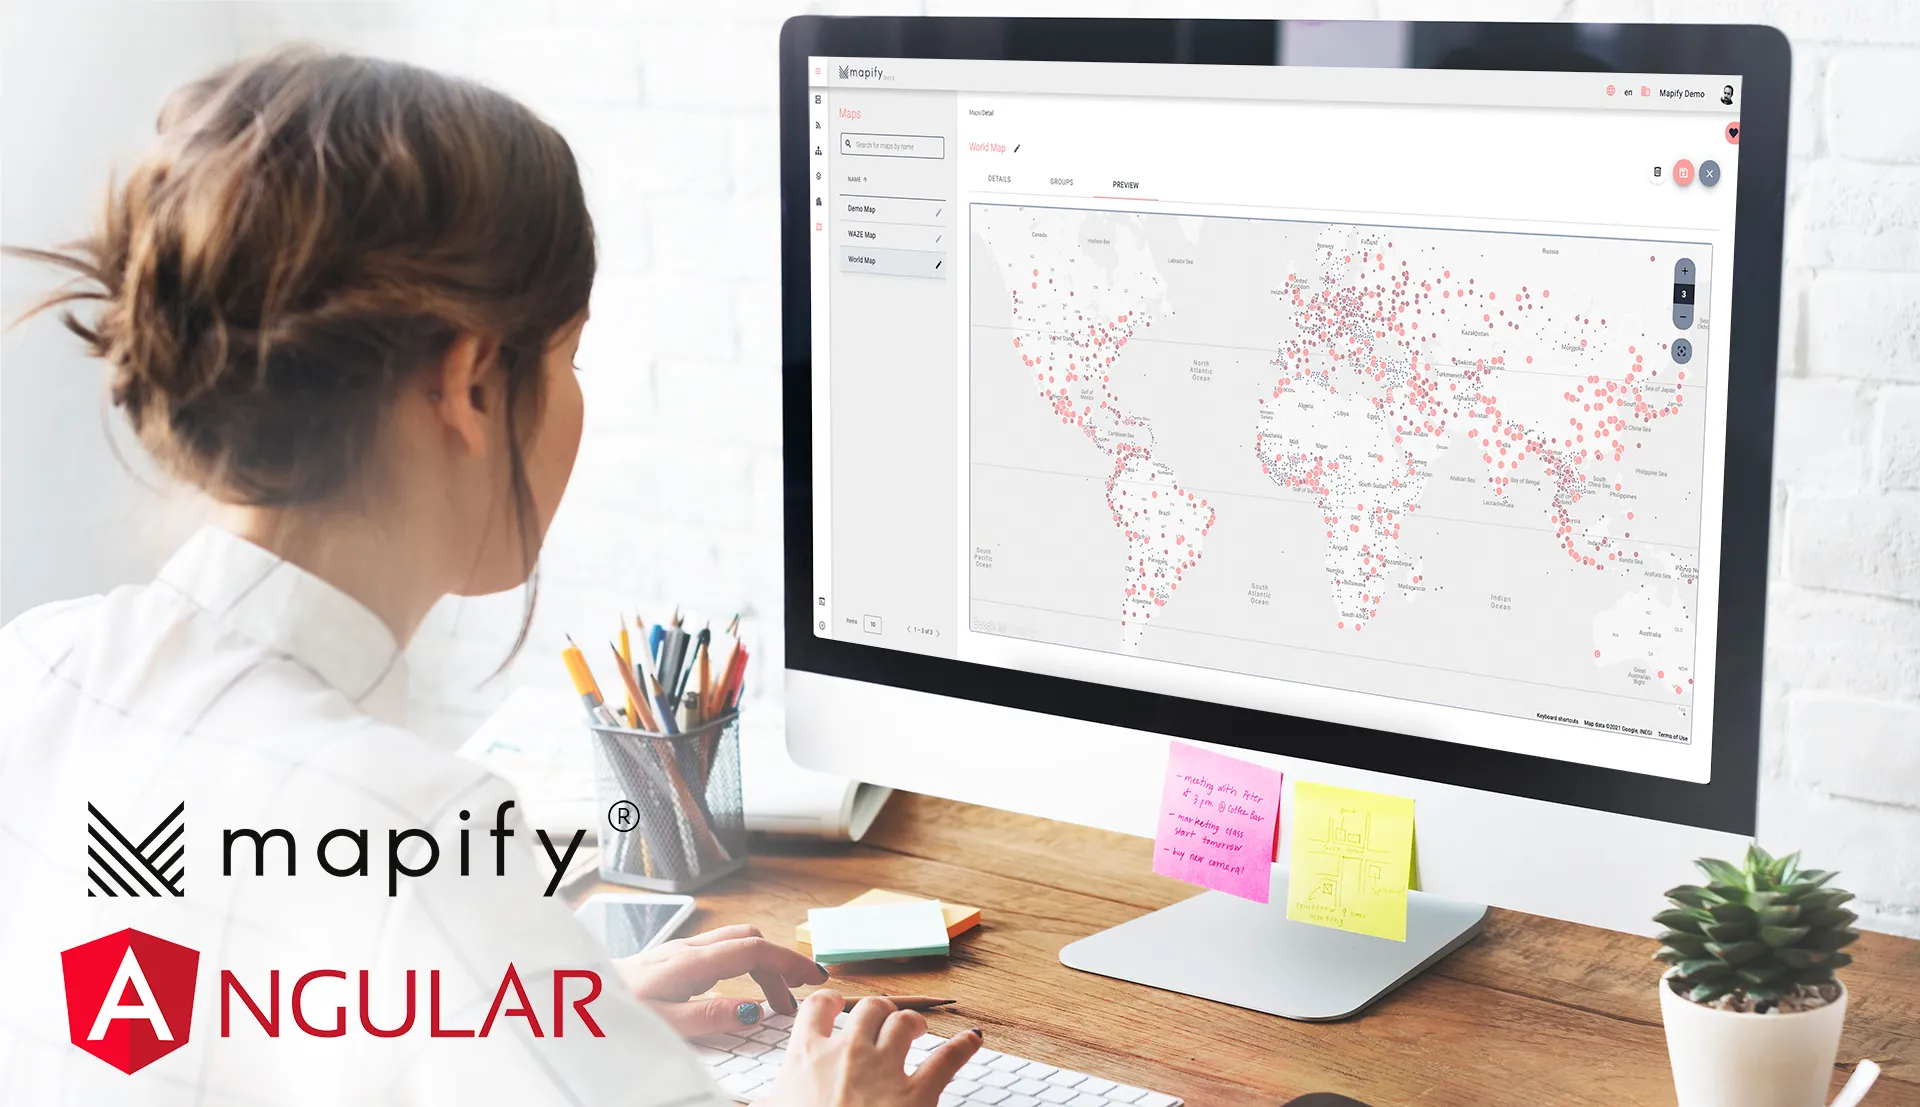
In this post we’ll finally type some code (but not that much :-). You’ll create an angular application which will render a map using Mapify with a Google Maps base map. You’ll be able to render your own Mapify Map displaying your own Mapify layers.
Creating an Angular application
Requirements:
- Mapify account (you can request a trial account here)
- Google Maps API Key
- Visual Studio Code
If you want to dive right in the deep end without following this tutorial, feel free to request a Mapify trial here, or click here to schedule a talk with us, and start creating your location intelligence solutions today!
Generate a Mapify API Key
In order to build an application that uses the Mapify API, you will need a valid API Key with the necessary permissions.
If you already have a Mapify account, sign in to the Mapify administration console making sure your user has administrator rights to that account, or request a trial account here.
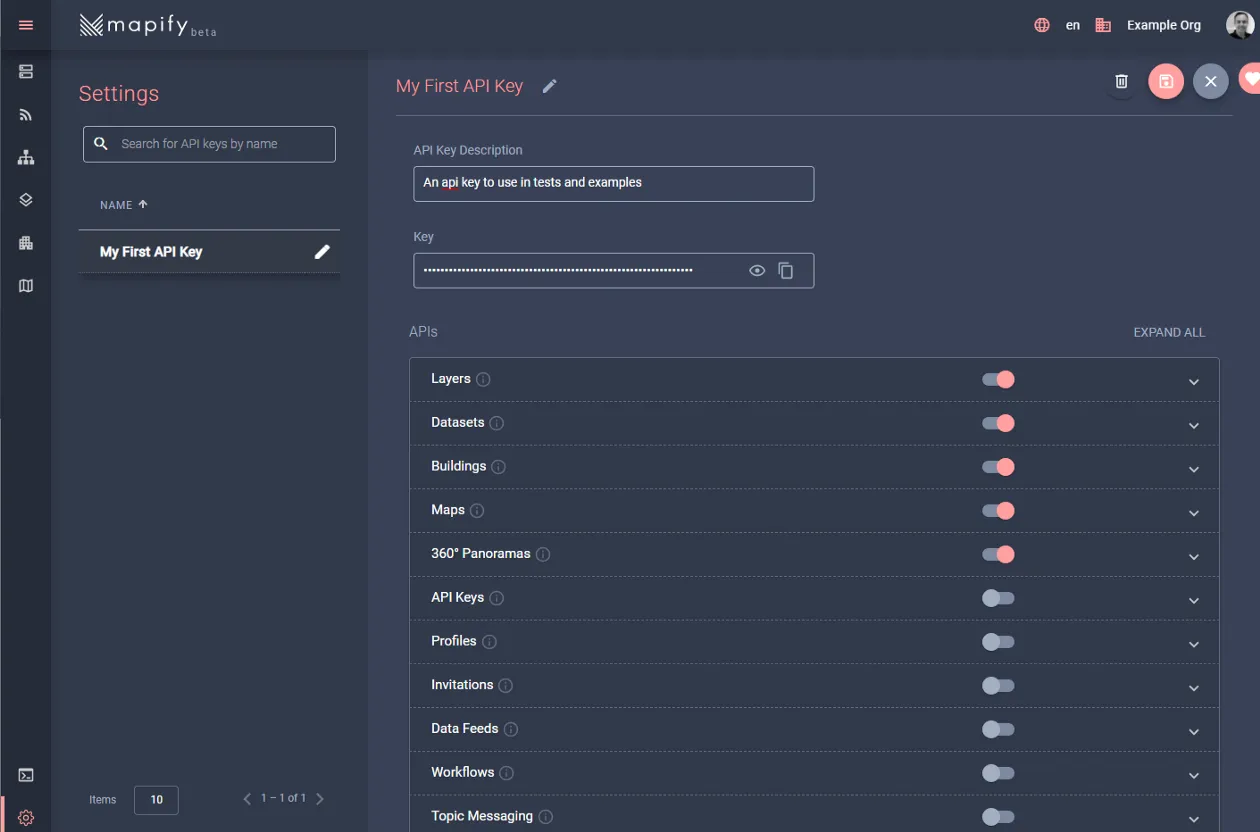
In the console, select the Settings option from the left hand menu, and in the API Keys tab, click the “Create” button to generate a new API Key. Type “My First API Key, and make sure that it has at least the following permissions:
Claim Permissions
---------------- -------------
Layers Read
Datasets Read
Buildings Read
Maps Read
360º Panoramas Read
Save the new API Key, and you should see it show up in the API Keys list, already enabled for use:
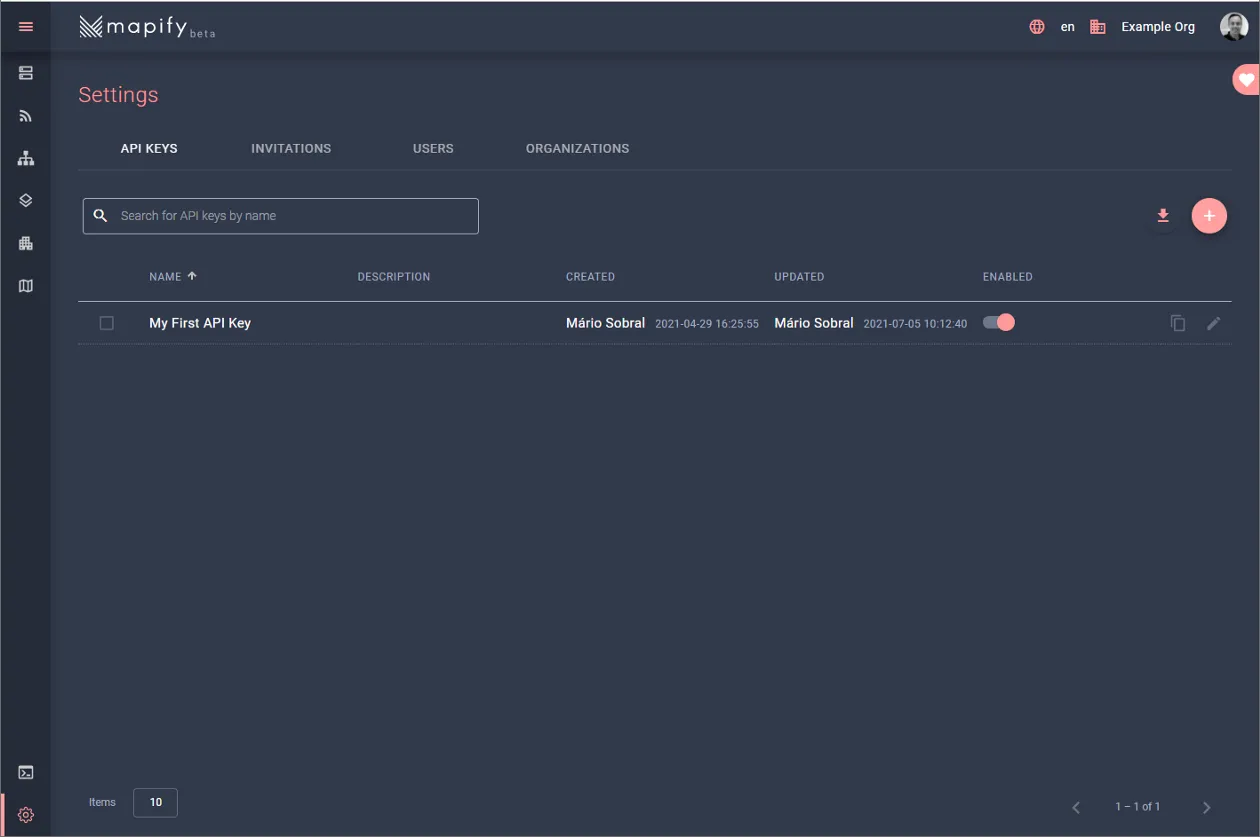
Later in this walkthrough you will be asked to use your recently created API Key. When you need it, simply use the “Copy” button in the respective API Key row to copy the API Key value to the clipboard, and then paste it where required.
Get a Google Maps API Key
Since this example will be using Google Maps for its base map, be sure that you have a valid Google Maps API Key. You can read here how to get one.
Setup your data in Mapify and create your Map
Before you create an application to show data on a map, you will need to have your data first.
To simplify this walkthrough, I will assume you have followed some of our walkthroughs on
how to create your first map on Mapify.This means you should now have at least a “World Countries” dataset, a “World Countries” published layer and a working "My First Map".
Creating a Mapify Hello World angular application
The first step is to setup Angular in your local environment, so follow the steps from the official documentation to get Angular up and running in your machine.
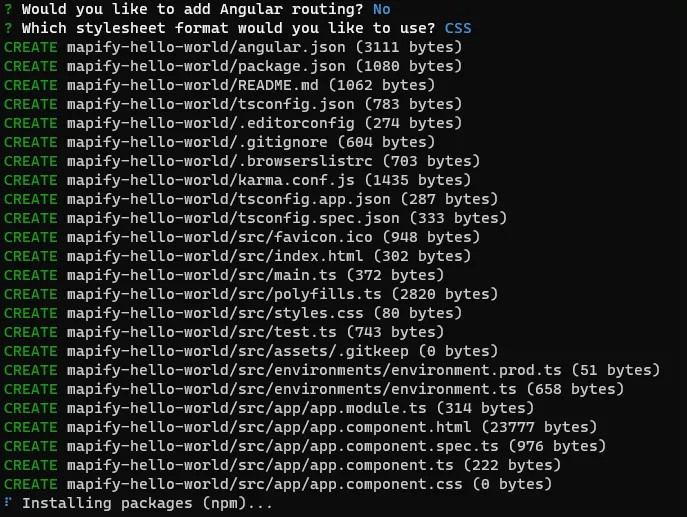
After you have Angular setup in your machine, create a new Angular application named “mapify-hello-world” using the angular CLI in a folder in your machine, by executing:
ng new mapify-hello-world
During the installation, when asked for options, press ENTER to select the default ones.
Install the Mapify SDK
After installing Angular successfully, and in order to be able to use Mapify SDK features, you will need to install the Mapify Core and Mapify Angular packages, by executing:
npm i @mapify/coreand
npm i @mapify/angularConfigure local application environment settings
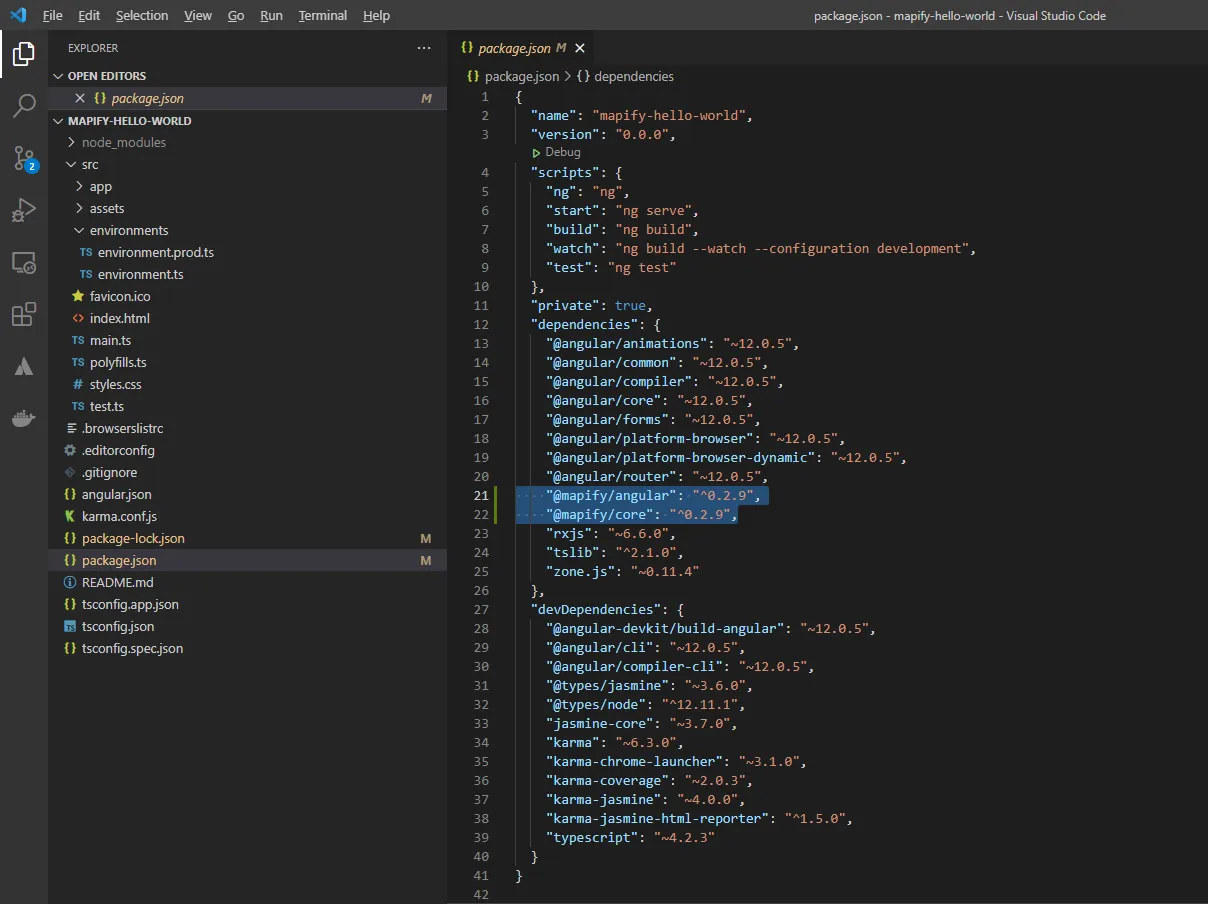
Now you will setup your angular project for development locally in your machine. Start up Visual Studio Code and navigate to the folder where you created the mapify-hello-world application.
Open the package.json file and confirm that you can find @mapify/core and @mapify/angular in its dependencies list:
You need to let your application know how to obtain the Mapify and Google Maps API keys so, in the src/environments folder find the environment.ts and replace its content with:
export const environment = {
// Google Maps API Key
googleMapsApiKey: 'XXXXXX',
// Mapify API Key
mapifyApiKey: 'YYYYYY',
production: false
};
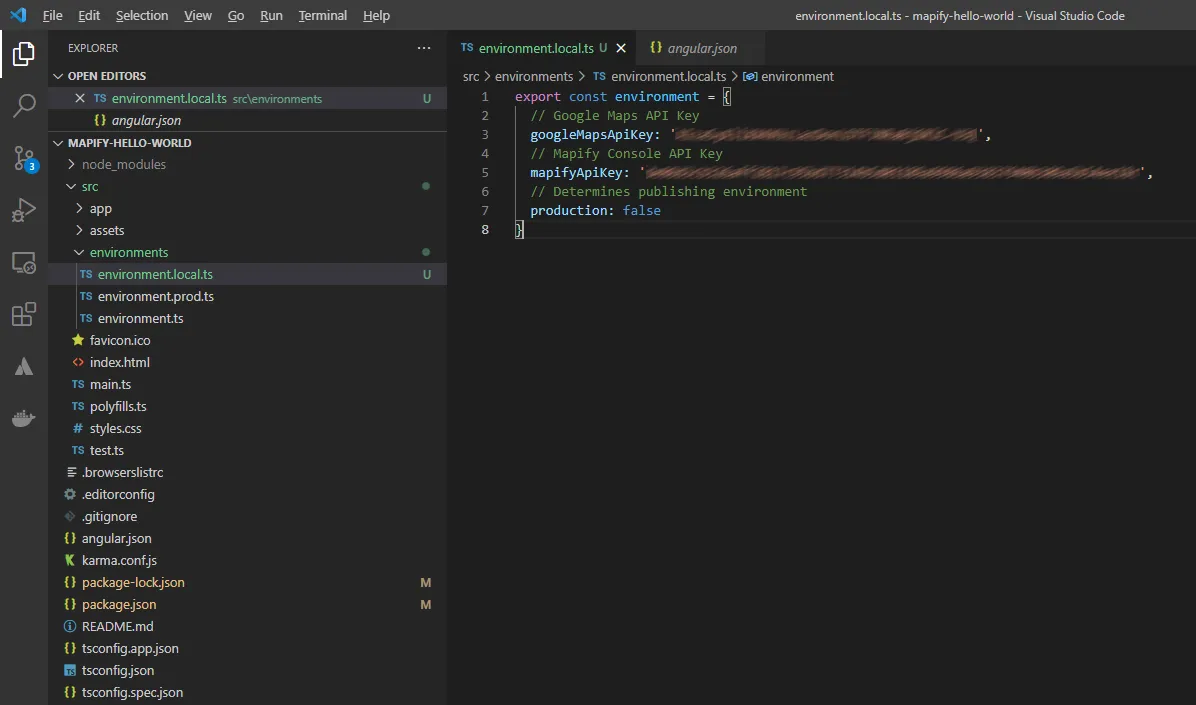
Then, create an environment.local.ts file with the same content, but be sure to replace XXXXXX and YYYYYYY by their respective API Key values obtained earlier in this walkthrough:
export const environment = {// Google Maps API Key
googleMapsApiKey: 'your-development-google-maps-api-key-here',// Mapify API Key
mapifyApiKey: 'your-development-mapify-api-key-here', production: false
};
NOTE: Since the environment.local.ts file will contain valid API Keys, be sure to include the file in the .gitignore file to exclude it from being committed and saved to your source control server it where other users may have access to it.
Your environment.local.ts should look something like this:
You can have different environment files for different development or production environments, such as a environment.local.ts file for local development, or environment.prod.ts file for production, which will replace the environment.ts file at build time.
But for your local configuration to be used at build time and when serving the page locally, you will need to add some settings to the projects\mapify-hello-world\architect\build\configurations and projects\mapify-hello-world\architect\serve\configurations elements in the angular.json file, so start by finding the projects\mapify-hello-world\architect\build\configurations property:
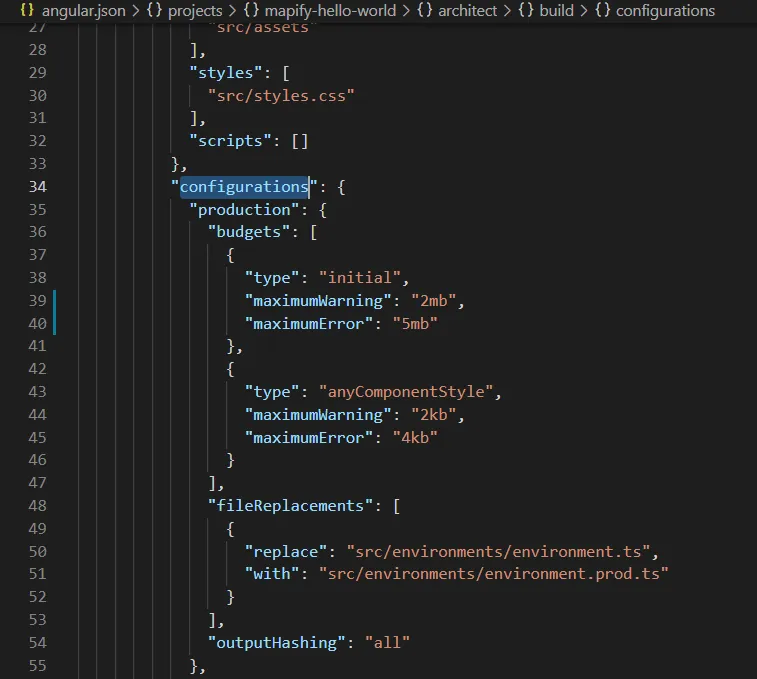
Simply add a new local element inside the projects\mapify-hello-world\architect\build\configurations element as shown below:
"configurations": {
"local": {
"fileReplacements": [
{
"replace": "src/environments/environment.ts",
"with": "src/environments/environment.local.ts"
}
]
},
"production":
Next, find the projects\mapify-hello-world\architect\serve\configurations element and also add to it a local child element such as illustrated below, and set the defaultConfiguration element value to local:
"serve": {
"builder": "@angular-devkit/build-angular:dev-server",
"configurations": {
"local": {
"browserTarget": "mapify-hello-world:build:local"
},
"production": {
"browserTarget": "mapify-hello-world:build:production"
},
"development": {
"browserTarget": "mapify-hello-world:build:development"
}
},
"defaultConfiguration": "local"
},
Creating your new page
The first thing is to make sure your modules are recognized and the configuration settings will be available in your page code.
Find the src\app\app.module.ts file and replace its content with:
import { NgModule } from '@angular/core';
import { BrowserModule } from '@angular/platform-browser';
import { AppComponent } from './app.component';
import { environment } from 'src/environments/environment';
import { MapConfig } from '@mapify/core';
import { MapifyAngularModule } from '@mapify/angular'@NgModule({
declarations: [
AppComponent
],
imports: [
BrowserModule,
MapifyAngularModule.forRoot(new MapConfig(
// Your API keys
environment.googleMapsApiKey,
environment.mapifyApiKey
))
],
providers: [],
bootstrap: [AppComponent]
})
export class AppModule { }
The code above will make the Mapify and Google Maps API Key available to be used in your page for making requests to the respective services.
Now, to build your new page, find the src\app\app.component.html file and replace its content with:
<h1>{{ title }}</h1>
<div>
<h2>Selected Feature Details:</h2>
{{ selectedFeature }}
</div>
<mapify-map
[map]="map"
#mapifymap
height="500px"
width="500px">
</mapify-map>
Next, you’ll need to edit the src\app\app.component.ts file, in order to import the Mapify core and angular modules, define the title property, and configure the Mapify map component.
You can copy the code below and replace the app.component.ts content:
import { Component, OnInit, ViewChild } from '@angular/core';
import { environment } from 'src/environments/environment';
import { MapifyClient, ClientConfig, Map } from '@mapify/core';
import { MapifyMapComponent } from '@mapify/angular'@Component({
selector: 'app-root',
templateUrl: './app.component.html',
styleUrls: ['./app.component.css']
})export class AppComponent implements OnInit {
public title = 'Mapify Hello World';
public selectedFeature = '';
public mapifyClient: MapifyClient;
public map: any;@ViewChild('mapifymap') mapifyMap: MapifyMapComponent | undefined;
constructor(){
// Obtain Mapify API key from your environment configuration
const clientConfig: ClientConfig = {
// Your Mapify API key
apiKey: environment.mapifyApiKey
};
this.mapifyClient = MapifyClient.createClient(clientConfig); } // On page initialization
public async ngOnInit(): Promise<void> {
// Get maps from Mapify account
const maps = await this.mapifyClient.maps.getAllPaginated();
// If there are no Maps configured in the account, return
if (maps?.items?.length <= 0) {
return;
}
}
Congratulations, you have your first Mapify web application running its map control! If you want to test it right now, make sure all your changes were saved, open the terminal window in Visual Studio code and run the following command:
ng serve
If all goes well, your application will compile (be patient, the first time may take a few moments, but it will be faster in next iterations) and will be served locally on http://localhost:4200

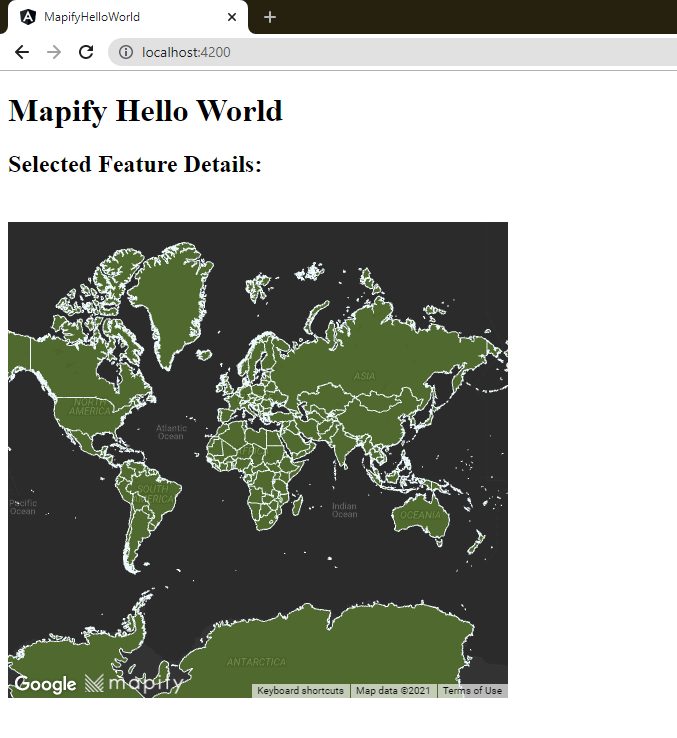
It is still a very simple page, but you can already check your progress in your browser:
Let’s add some behaviour to the application!
The next step is to add some behaviour to the application, by adding a button to re-center the map, and the ability to click on a map’s feature and report information about it from its associated layer properties.
Go back to the src\app\app.component.html file and replace its content with:
<h1>{{ title }}</h1>
<div>
  <h2>Selected Feature Details:</h2>
  {{ selectedFeature }}
  <button (click)="onCenterClick()" >Center</button>
</div>
<mapify-map
  [map]="map"
  #mapifymap
  height="500px"
  width="500px"
  (featureClick)="onMapFeatureClick($event)">
</mapify-map>
Next, you’ll need to edit the src\app\app.component.ts file, in order to add the onCenterClick and onMapFeatureClick functions. You can copy the code below and replace the app.component.ts content:
import { Component, OnInit, ViewChild } from '@angular/core';
import { environment } from 'src/environments/environment';
import { MapifyClient, ClientConfig, Map } from '@mapify/core';
import { MapifyMapComponent } from '@mapify/angular'@Component({
selector: 'app-root',
templateUrl: './app.component.html',
styleUrls: ['./app.component.css']
})export class AppComponent implements OnInit {
public title = 'Mapify Hello World';
public selectedFeature = '';
public mapifyClient: MapifyClient;
public map: any;@ViewChild('mapifymap') mapifyMap: MapifyMapComponent | undefined;
constructor(){
// Obtain Mapify API key from your environment configuration
const clientConfig: ClientConfig = {
// Your Mapify API key
apiKey: environment.mapifyApiKey
};
this.mapifyClient = MapifyClient.createClient(clientConfig);
}// On page initialization
public async ngOnInit(): Promise<void> {
// Get some maps from Mapify
const maps = await this.mapifyClient.maps.getAllPaginated();
// If there are no Maps configured in the account, return
if (maps?.items?.length <= 0) {
return;
}
// Get the first Map available in the account specified by the configured API Key
const desiredMap = maps.items[0];
// Request the map specifically to get the full data needed to display the map
this.map = await this.mapifyClient.maps.get(desiredMap.mapId)
// Use the setTimeout to ensure this runs only after the map reference has been updated in the child component
setTimeout(()=>{
this.mapifyMap?.showMap();
this.mapifyMap?.centerMap();
})
}
// On feature click on the map
public onMapFeatureClick(e: any): void {
if(!e)
return;
console.log("Detected a click: ")
console.log(e.object)
this.selectedFeature = JSON.stringify(e.object.properties)
}// On center butotn click
public onCenterClick(): void {
console.log("Centering the map")
this.mapifyMap?.centerMap()
}
}
Test it right now, if you previously didn’t stop the running angular local server, simply refresh your browser window (if it did not automatically refresh after you saved your changes), or open a the terminal window in Visual Studio code and run the following command:
ng serve
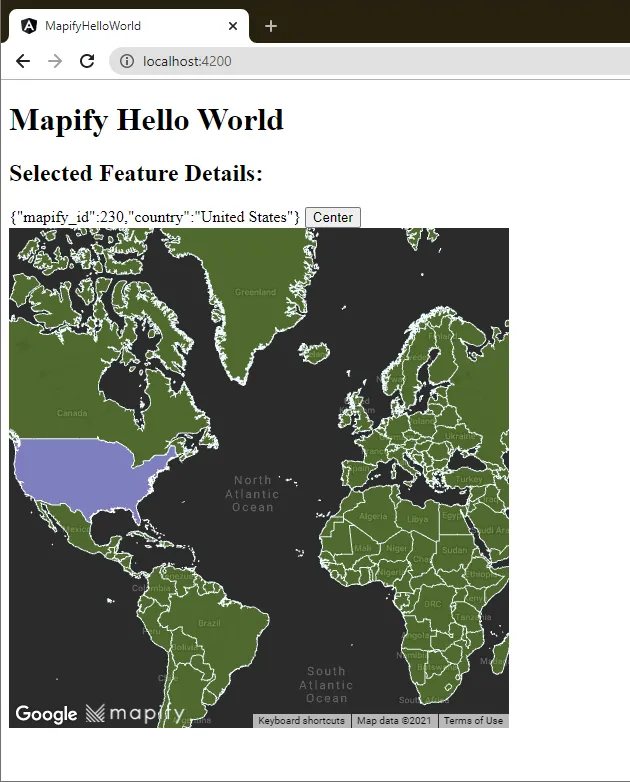
Confirm that your browser is open on http://localhost:4200 and feel free to zoom in, zoom out, click on the “Center” button, and on map features.
Here’s how it can look, after zooming in to North America and clicking on the continental US feature (your map color may differ, if you kept the layer default style):
Great job! Now use your imagination to build amazing location intelligence applications with Mapify !
I hope you enjoyed this walkthrough and can now see how it is so simple to create your own maps using Mapify data and Maps.
Ready to power your solutions with Mapify ? Feel free to request a Mapify trial here, or click here to schedule a talk with us and we’ll show you what Mapify can do for you and your business.

.jpg)