How To Create your first map in Mapify
February 24, 2022
Mário Sobral
Quickly and easily share your maps and geospatial data in real-time as stand-alone web applications without writing any code!
Mapify allows you to quickly and easily share your Maps as stand-alone web applications, which it calls Mapify Apps. Mapify Apps are hosted by Mapify in its fully scalable cloud platform, so you don’t have to worry about setting up any infrastructure or software. Just choose a few options, click a couple of buttons, and your Mapify App is ready to share your amazing maps to the world!
What you need to create your first map in Mapify
Even though experienced users can use the Mapify SDK to develop custom built applications, this post will explain how you can use Mapify to generate a web application showing off your map within minutes, and without having to write any code. We assume you already have created Layers and styled them, and joined them together in a Map, and all you need is to share it all with your audience in a nice looking web application.
If you already know this is what you need, feel free to request a Mapify trial here, or click here to schedule a talk with us, and start creating your location intelligence solutions today!
Apps are based on a Map
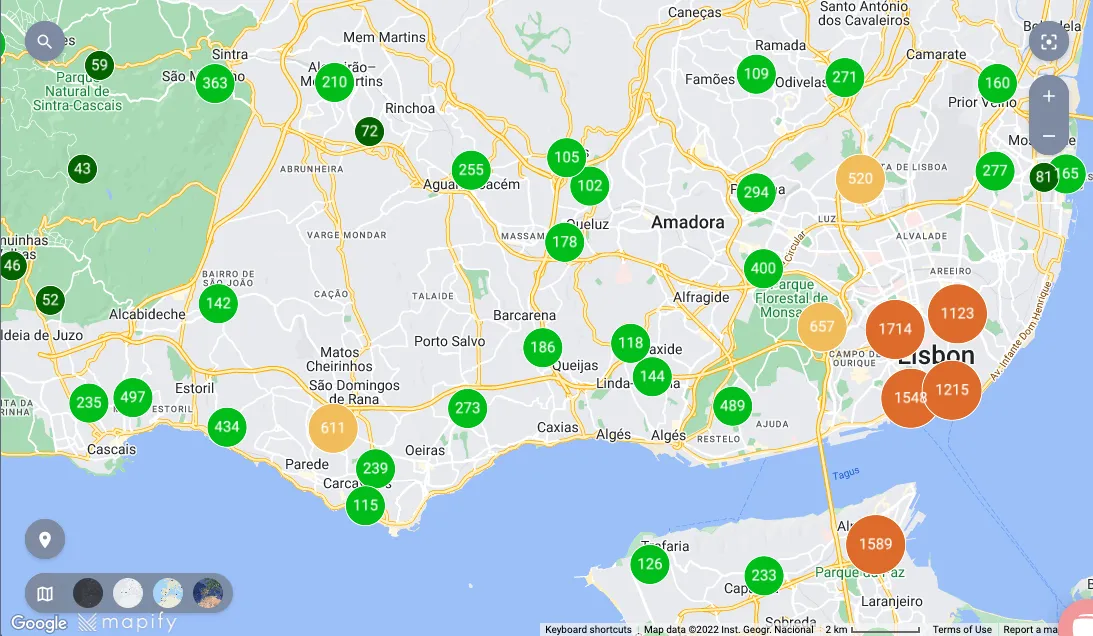
First things first, so if you don’t know what Mapify Layers and Maps are, we strongly recommend you read some of our previous articles, or check out our online documentation. Don’t forget that Mapify Maps can include layers which display real-time data, such as vehicle tracking or sensor data and render it all in real time.
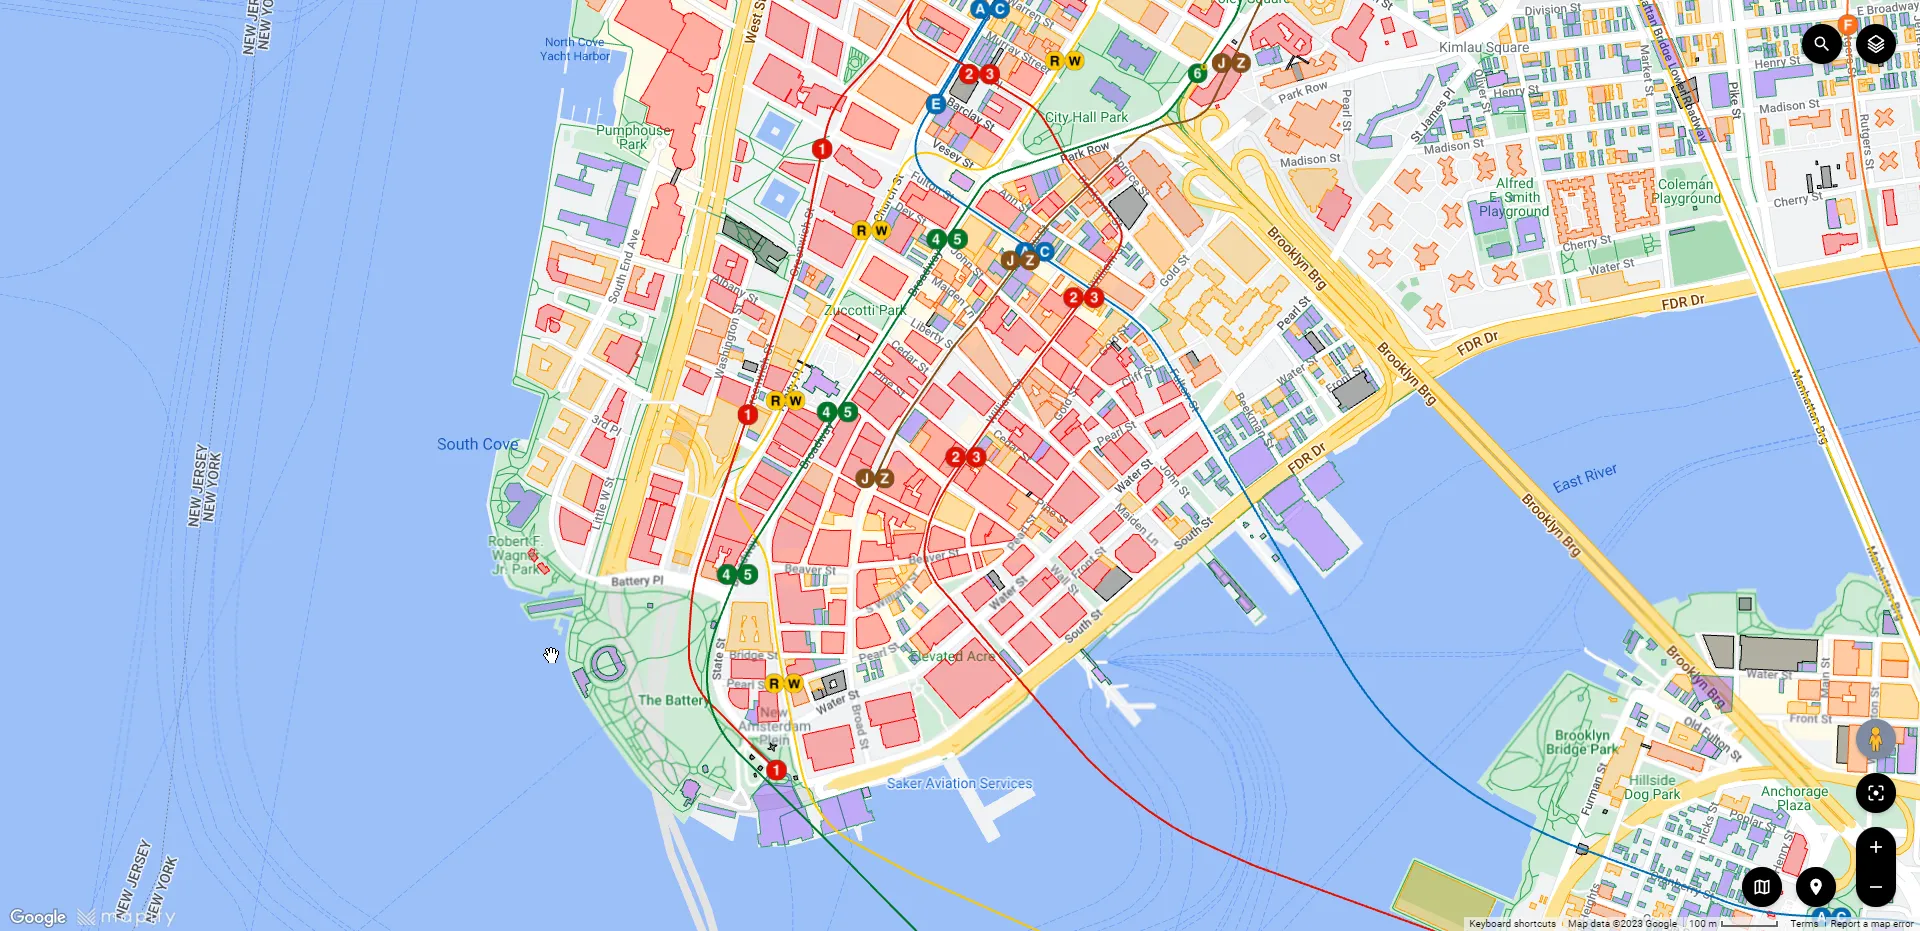
For this article we’ll walk you through creating two Mapify Apps, one using a couple of previously created layers based on New York City’s open data, and another using Helsinki’s open data which includes real time public transportation data.
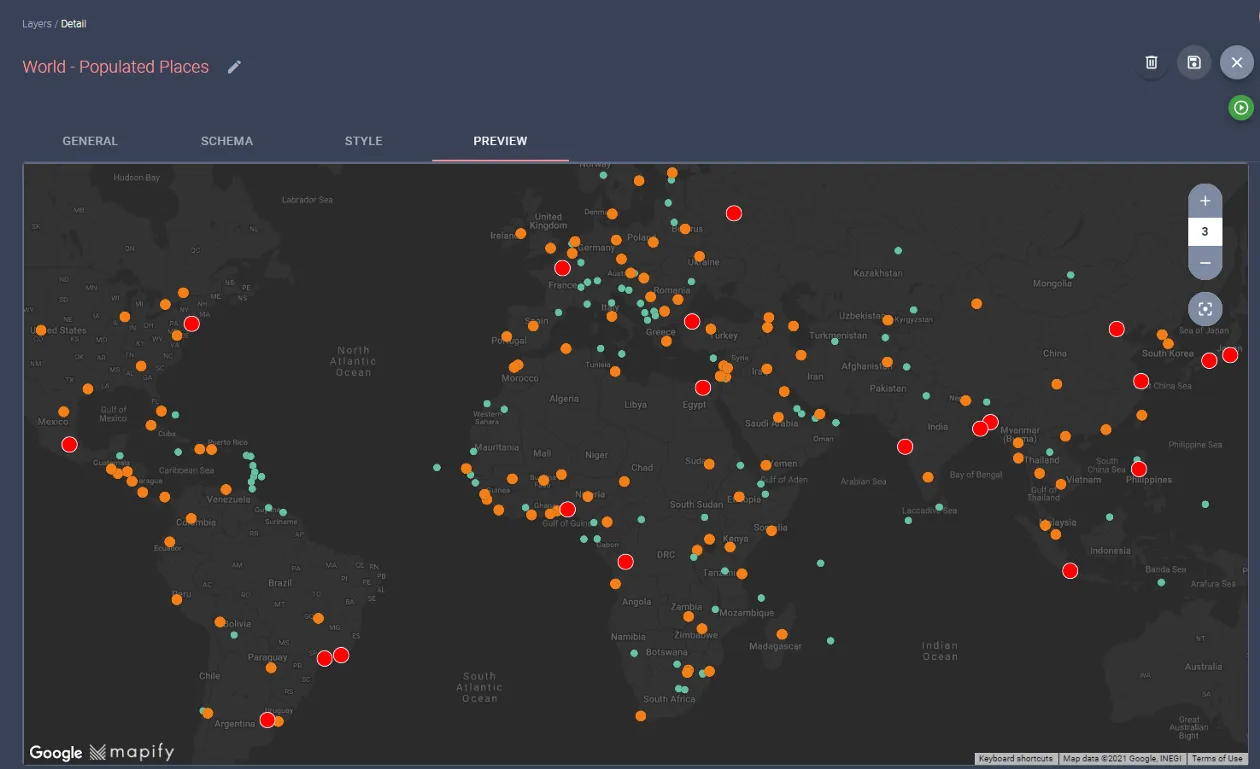
All the Datasets, Data Feeds and Layers used in this article had already been imported and configured in Mapify. Layers have been styled and joined in the respective maps that will be used for the two apps.
So now let us show you how it is possible for you to easily generate your own Mapify Apps and share them with the rest of the world ! :-)
Creating your first App
Since we already have configured the layers and added them to a Map called “New York — Subway”, we’ll start by clicking on the Apps link on the left hand menu bar. This will take you to the Mapify Apps list screen, where all your apps will be listed.
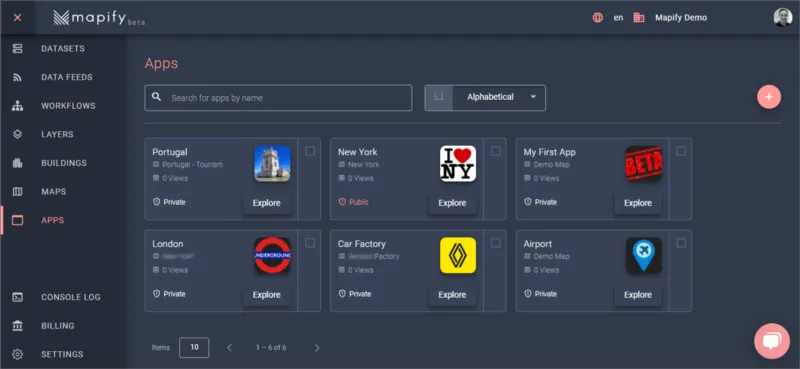
You can now click on the (+) button on the top right hand corner to start creating your new app in the App details screen.
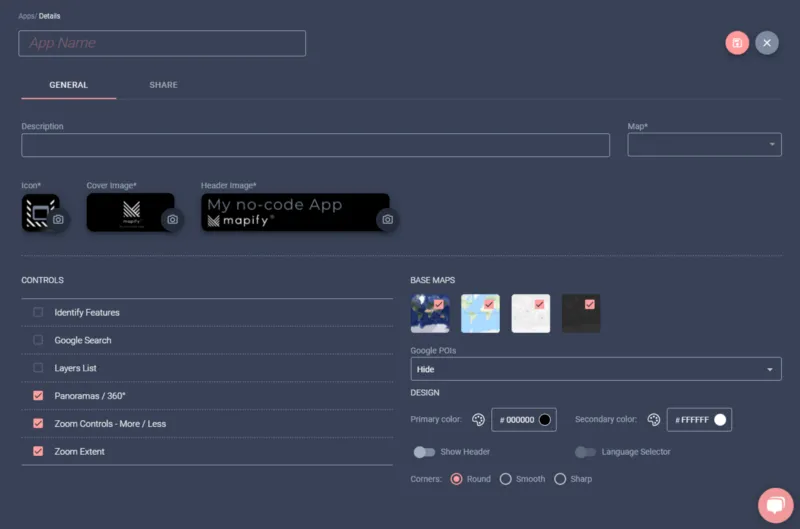
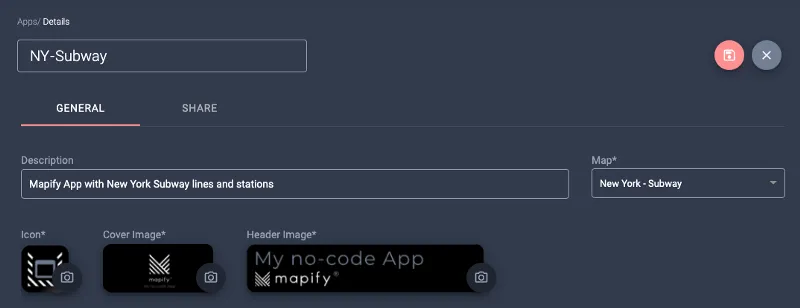
Start by typing a name for your app. Choose carefully your App name, since it will be used in the final web application as the page title that will be displayed on the browser tab. For this example we’ll use “NY — Subway”, and we’ll add a short description too.
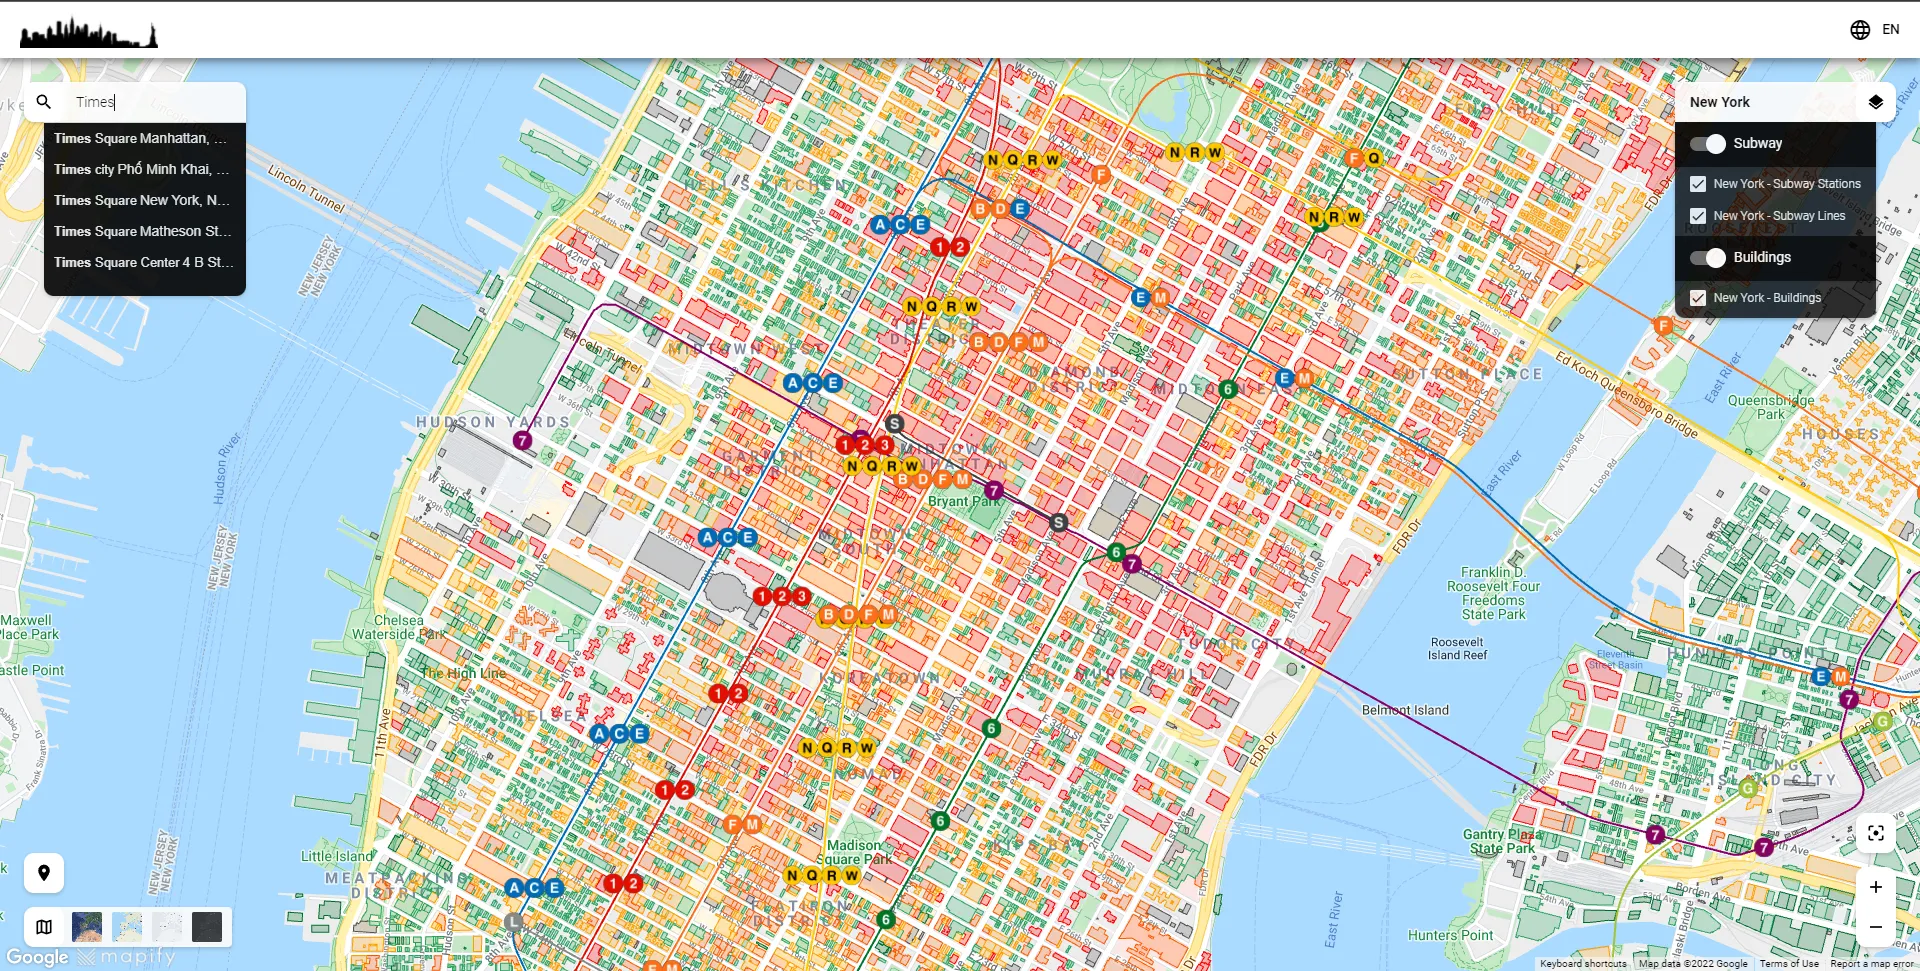
The next step is to select a Map which the app will be based upon, and which will be displayed when users access the web application with their browser. We’ll select our already mentioned “New York — Subway” which we had created previously.
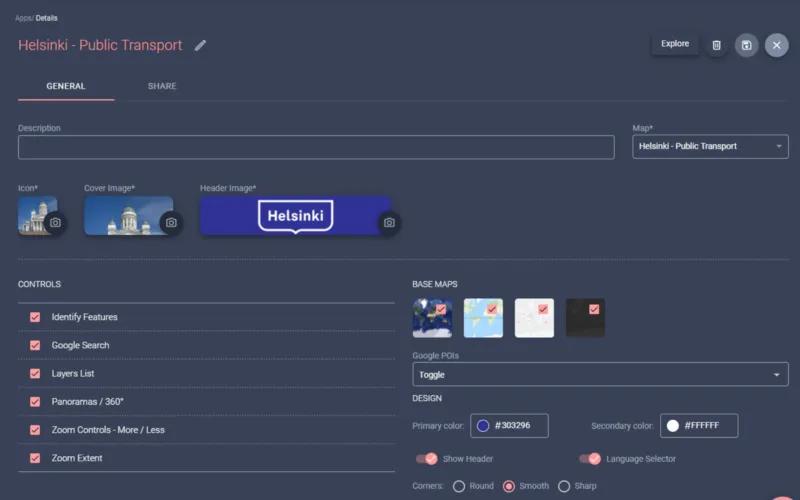
The next step is to select which images to use for the icon, cover image and page header. For the purpose of this article we went with some extremely simple images that should be enough to demonstrate how to customize your application.
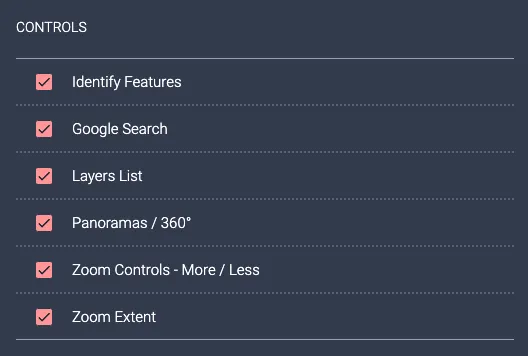
You should now select which controls will be available to the users of the app, by enabling/disabling them in the Controls panel. We’ll enable them all for this article, so that they can be show off in our application.
The Base Map of your App
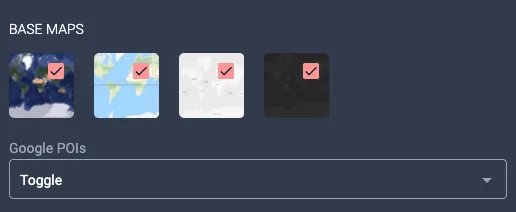
You can select which base maps will be available to your users as the underlying map over which their layers will be rendered. If you select more than one of the base maps to be available, users will have access to a base map selector in the app and can toggle between them.
The Google POIs selector allow you to specify if Google points of interest will be visible or hidden in your app’s base map, or even if the user will be able to toggle their visibility in the app.
We’ll enable all of the base maps and select “Toggle” for the Google POIs.
Design choices
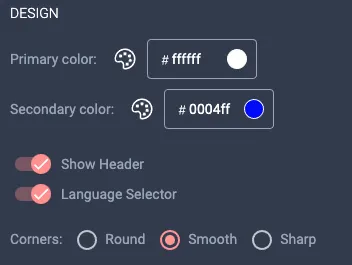
We all know that you want your application look the best to your users, so you can define the main colours used in the application UI elements, as well as if a page header should be displayed (if you’re embedding the resulting app in a website or web application, you may not want the header to be rendered, more on that when we talk about sharing your Mapify App).
For this article, we’ll select #ffffff as the primary color and #0004ff as the secondary colour. We’ll also enable the header and the language selector in the app, and select “Smooth” for the rendering of the controls’ corners.
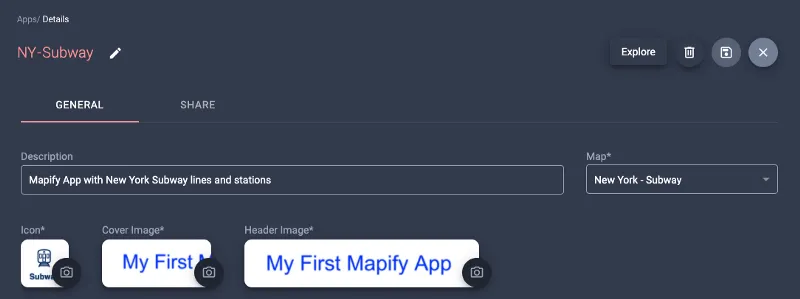
You can now save your new Mapify App.
You should now see your Mapify App listed in the Apps list screen using your selected icon image.
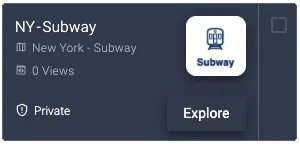
You can already click on the Explore button to preview how your app looks like. Feel free to experiment as a user and play with the available controls in your Mapify App.
Sharing your Mapify App
Once you are happy with your Mapify App configuration, it’s time to share it with your users.
The Share tab allows you to determine how your Mapify App will be shared.
Mapify Apps can be private and only accessible to your organization's authenticated Mapify users, or they can be public and you can share them on the internet, including through social networks.
By default Mapify Apps are created as private applications, and are immediately accessible through the provided URL. Private applications require users to be logged in to Mapify to access the application.
If you change it to a public application, your application will not require authentication for users, but you will be required to provide your own Google Maps platform API key.
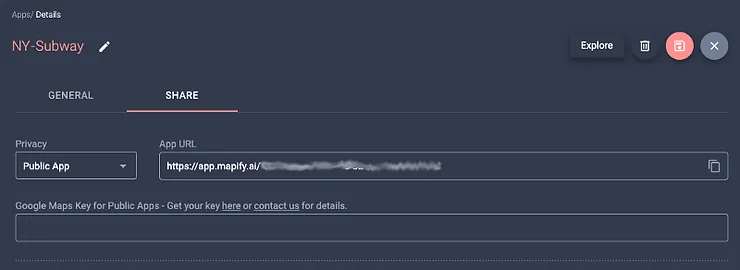
If you plan to integrate your Mapify App in your website or web application, you can configure and embed the provided code in your page’s HTML. Just copy and paste, and you’re done!
That’s it, you now have a fully working web application allowing your users to view and explore your map, completely scalable and hosted by Mapify.
How about real time data ?
If you haven’t created a Realtime Layer yet, go take a look at some of our previous articles, or look it up in the official documentation.
For this second App we had already created Data Feeds, Workflows and Realtime Layers to handle incoming real time data from Helsinki’s public transportation open data, and joined them all in a good looking Map.
The process to create the App is exactly the same as above, but we did change the icon, cover and header images, as well as selecting the previously created map for Helsinki data.
After creating your app using a Map with real time layers, your users will be able to see information updated in real time right on the application. And you did it all without a single line of code!
Even though some people may say we do magic at Mapify, the truth is that we only try to make location intelligence easier and more fun for users. I hope you enjoyed this walkthrough and can now see how flexible and powerful Mapify can be!
Ready to power your solutions with Mapify? Feel free to request a Mapify trial here, or click here to schedule a talk with us and we’ll show you what Mapify can do for you and your business.