Getting started with Mapify
November 3, 2022
Mário Sobral
Creating your very first layer in the Mapify Console
Getting your Mapify trial account
In order to get started using Mapify, you need a valid account, so feel free to ask for your free trial. Follow the link you will be sent be email to validate your organization account by signing up (or signing in, if you already have a Mapify user account).
The email address you provide during sign up / sign in when accepting the invite will be assigned the Administrator role for your new Mapify organization. You will be able to make changes and invite more users to the Organization once you log in to the Mapify Console.
Keep in mind that all Mapify functionality, even what is available in the console, is also made available to you through the Mapify REST API, Mapify SDK and components, which will allow you to prototype and build production ready location intelligence solutions amazingly fast.
Creating your First Layer
Now that you have access to the Mapify Console, why not create your first layer?
There are several possibilities to create a new layer, but let’s start simple, with just a couple of steps:
Create a new Dataset by uploading a Shapefile
We’ll create a new Dataset by uploading an existing zipped shapefile which has the data we need. For our example, we’ll use Natural Earth’s World Countries 50m shapefile.
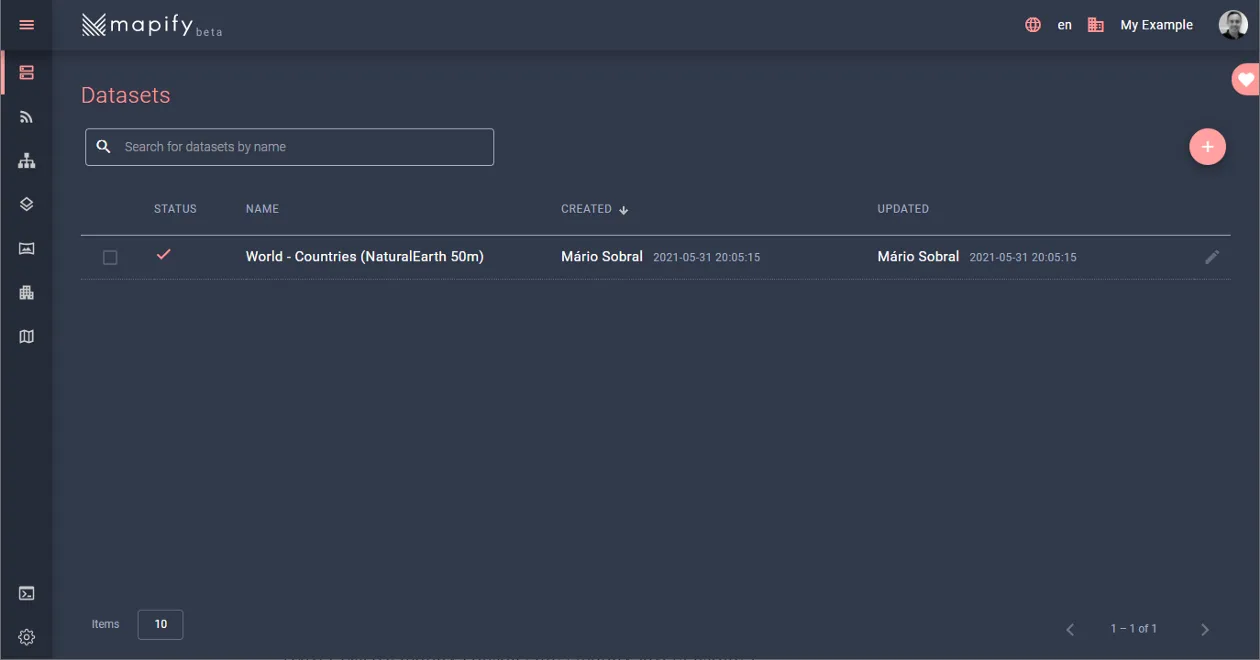
- Once logged in to the Mapify Console, navigate to the Datasets tab, which should open the Dataset list screen by default.
- Click on the (+) button on the top right hand side, and you should now be in the Dataset creation screen.
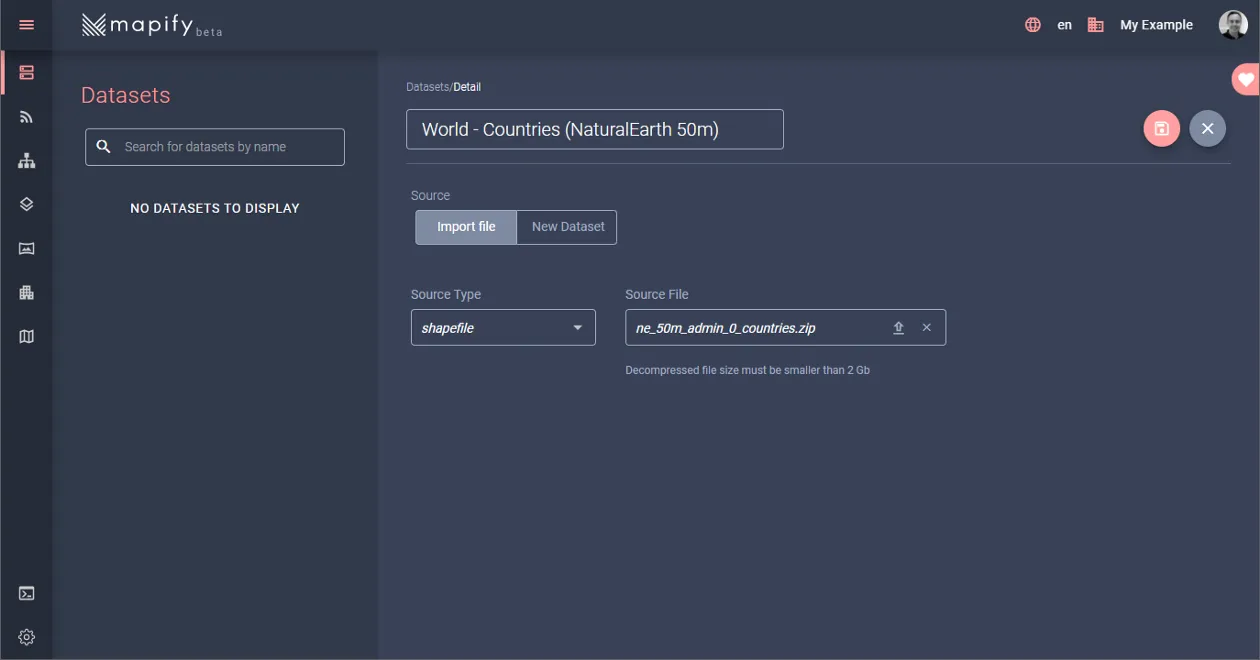
In the Name input box, type “World — Countries (NaturalEarth 50m)”, click the Source File box and select the zipped shapefile from your computer.
- Leave all other settings as default.
- Click the “Save” button on the top right hand corner.
- Your zipped shapefile will be uploaded and its data will be imported into a new Dataset named “World — Countries (NaturalEarth 50m)” in a few seconds.
Create and Publish a new Layer
Using the navigation menu bar on the left, navigate to the Layers screen.
Click on the (+) button on the top right hand side, and you should now be in the Layers creation screen.
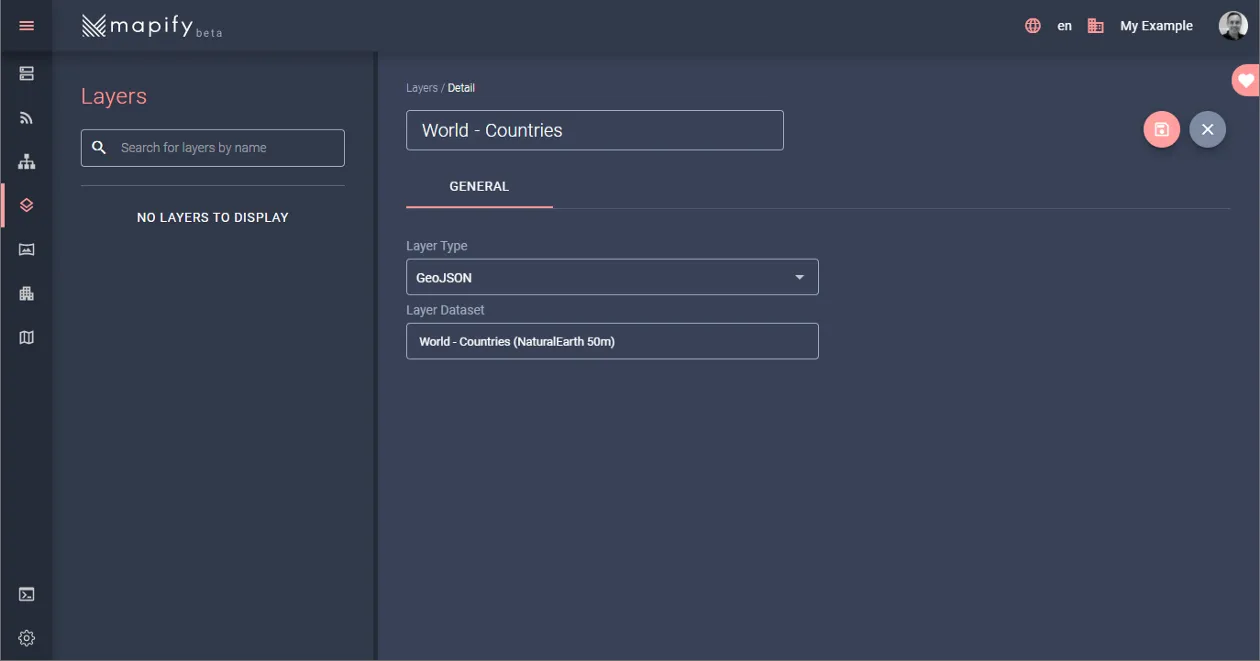
In the Name input box, type “World Countries”, select “GeoJSON” as layer type, and select the previously created Dataset from the “Layer Dataset” dropdown list.
Click the “Save” button on the top right hand corner.
Your new layer will be created in a few seconds, and you will be sent automatically to the Layers list screen where your layer will be listed.
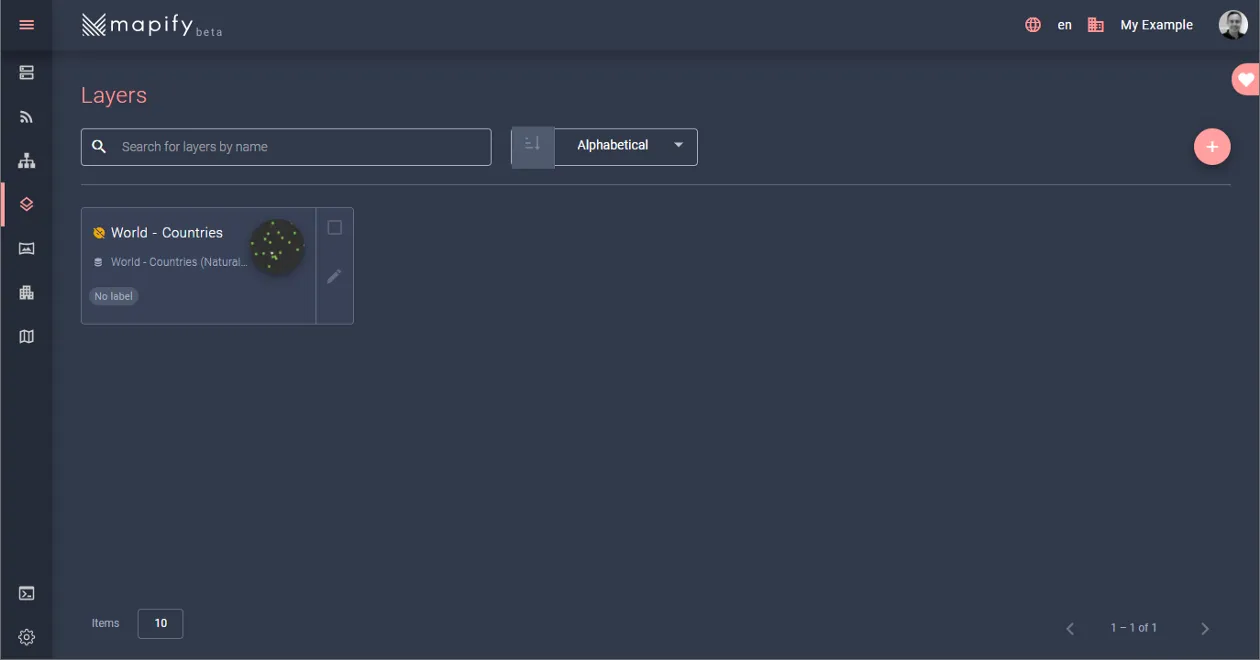
Only one last step to be able to preview your layer, which is to publish it, otherwise you will not be able to render it on a map.
Click on the layer’s “cue card” from the list to navigate to the layer details screen.
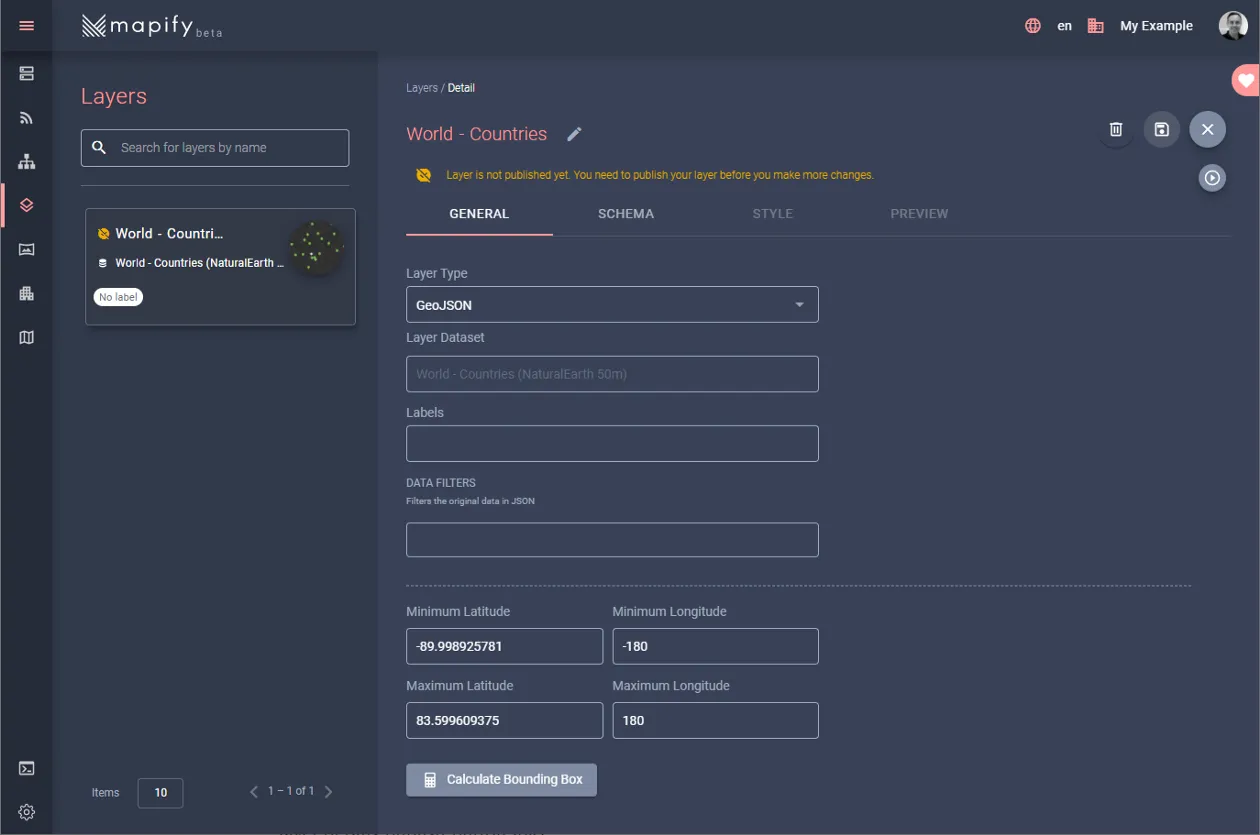
Ignore all the fields and tabs in this screen for now, and just find and click the layer Publish button on the top right hand side of the page, and the layer publish process will begin.
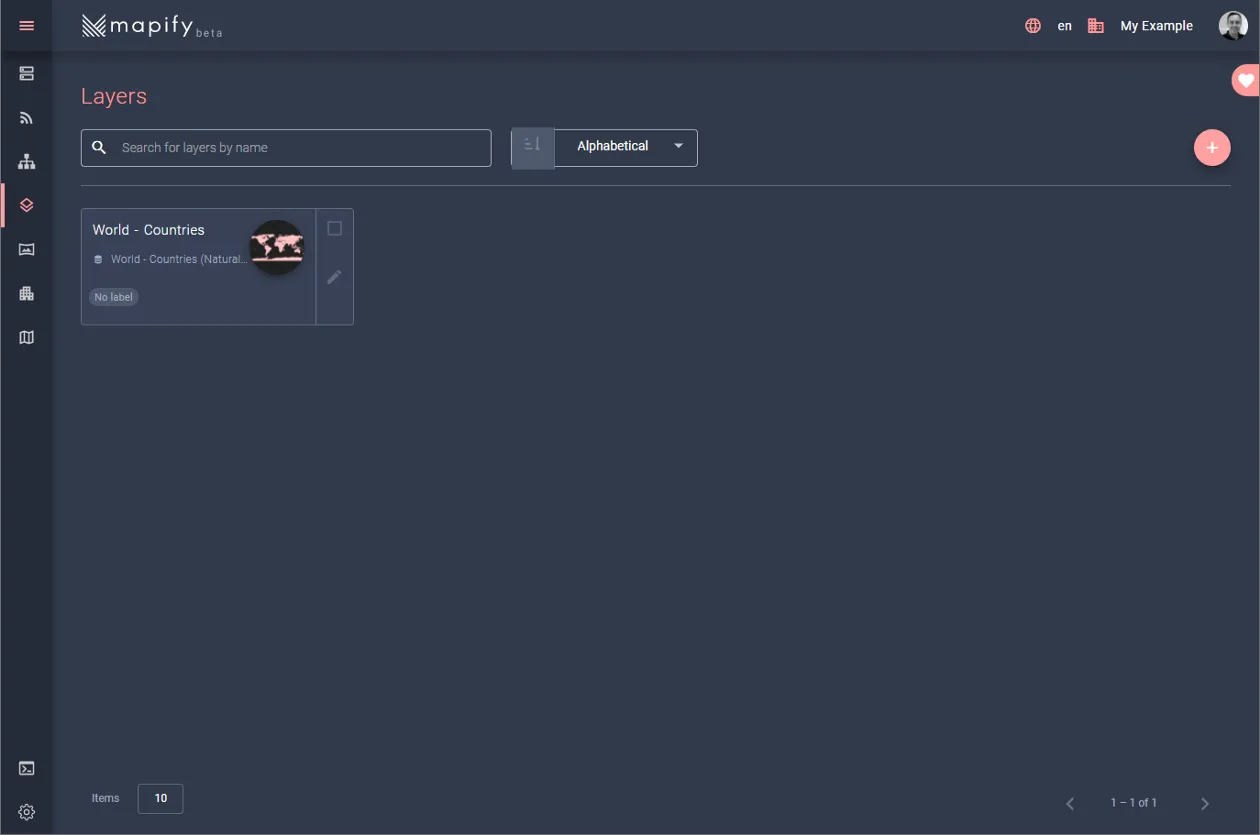
You will be sent back to the Layers list screen as the publishing process begins, and as soon as the process is finished, you will see your layer’s card with a rendered thumbnail of your layer, and a check mark icon confirming the success of the operation.
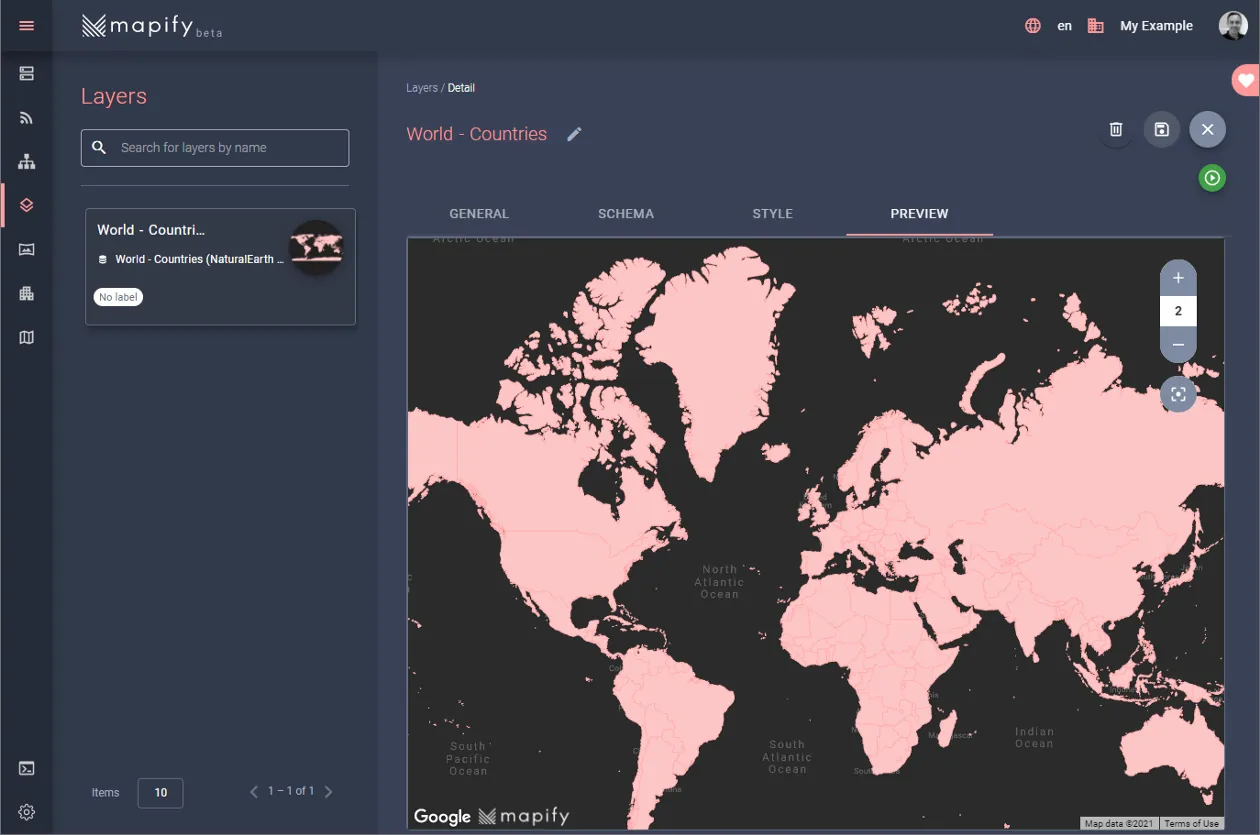
Preview your new Layer!
From the Layers list, click on your new layer’s card from the list to navigate to the layer details screen.
Click on the “Preview” tab.
You should now see your layer rendered and centered over the map control on the right. Feel free to zoom in and out, pan around, and click on a country to see the data attributes for that country.
You’re all done! Your layer is now available for you to use in your own solutions and applications through the Mapify API and Mapify SDK!
Feel free to reach out to us with any feedback you may have, we’d be happy to help and make this product even better for you!

.jpg)